DevNotes

Concise, Handy and Elegant Notes for Developers

0%

Django uses SQLite database by default, now we want to switch it to postgreSQL. Firstly, we fetch postgreSQL docker image and start an instance

1
2
docker pull postgres
docker run --name my-postgres -v /tmp/my-pgdata:/var/lib/postgresql/data -e POSTGRES_PASSWORD=my-password -p 127.0.0.1:5432:5432 -d postgres

The docker instance name can be whatever you want, here it’s named my-postgres for instance, and we mount a volume (e.g /tmp/my-pgdata) to our container, so that the database files are easier to access for other tools or applications on our host system. And remember to forward the default postgreSQL port and use -d to put it to background. Next, we install postgreSQL command line client if you haven’t done that yet.

1
sudo apt-get install postgresql-client

Then, we connect to postgreSQL, either command below should work, postgres is the default database and user name

1
2
psql postgresql://postgres:my-password@127.0.0.1:5432/postgres
docker exec -it my-postgres psql postgresql://postgres:my-password@127.0.0.1:5432/postgres
Read more »

Previously, we have Setup the blog using Hexo and deploy it to Github page. Additionally, we can deploy it to Vercel(formerly zeit). We can either go to their website to connect it to our Github, Gitlab, etc, or install command line interface and deploy with one hit.
npm i -g vercel

Just run vercel or vc inside the project, it will guide you to setup for the first time and deploy automatically. Note, the command was used to be called now.

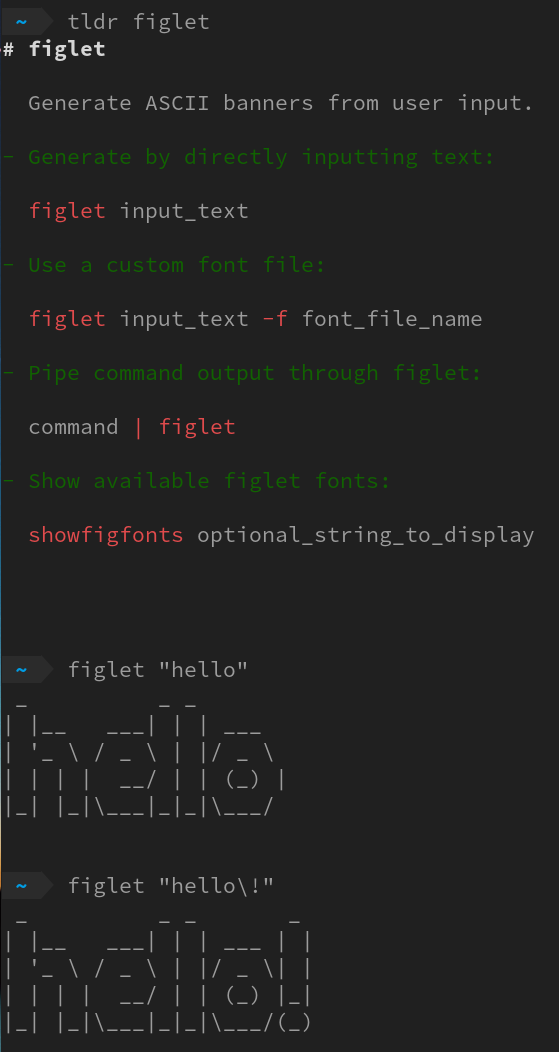
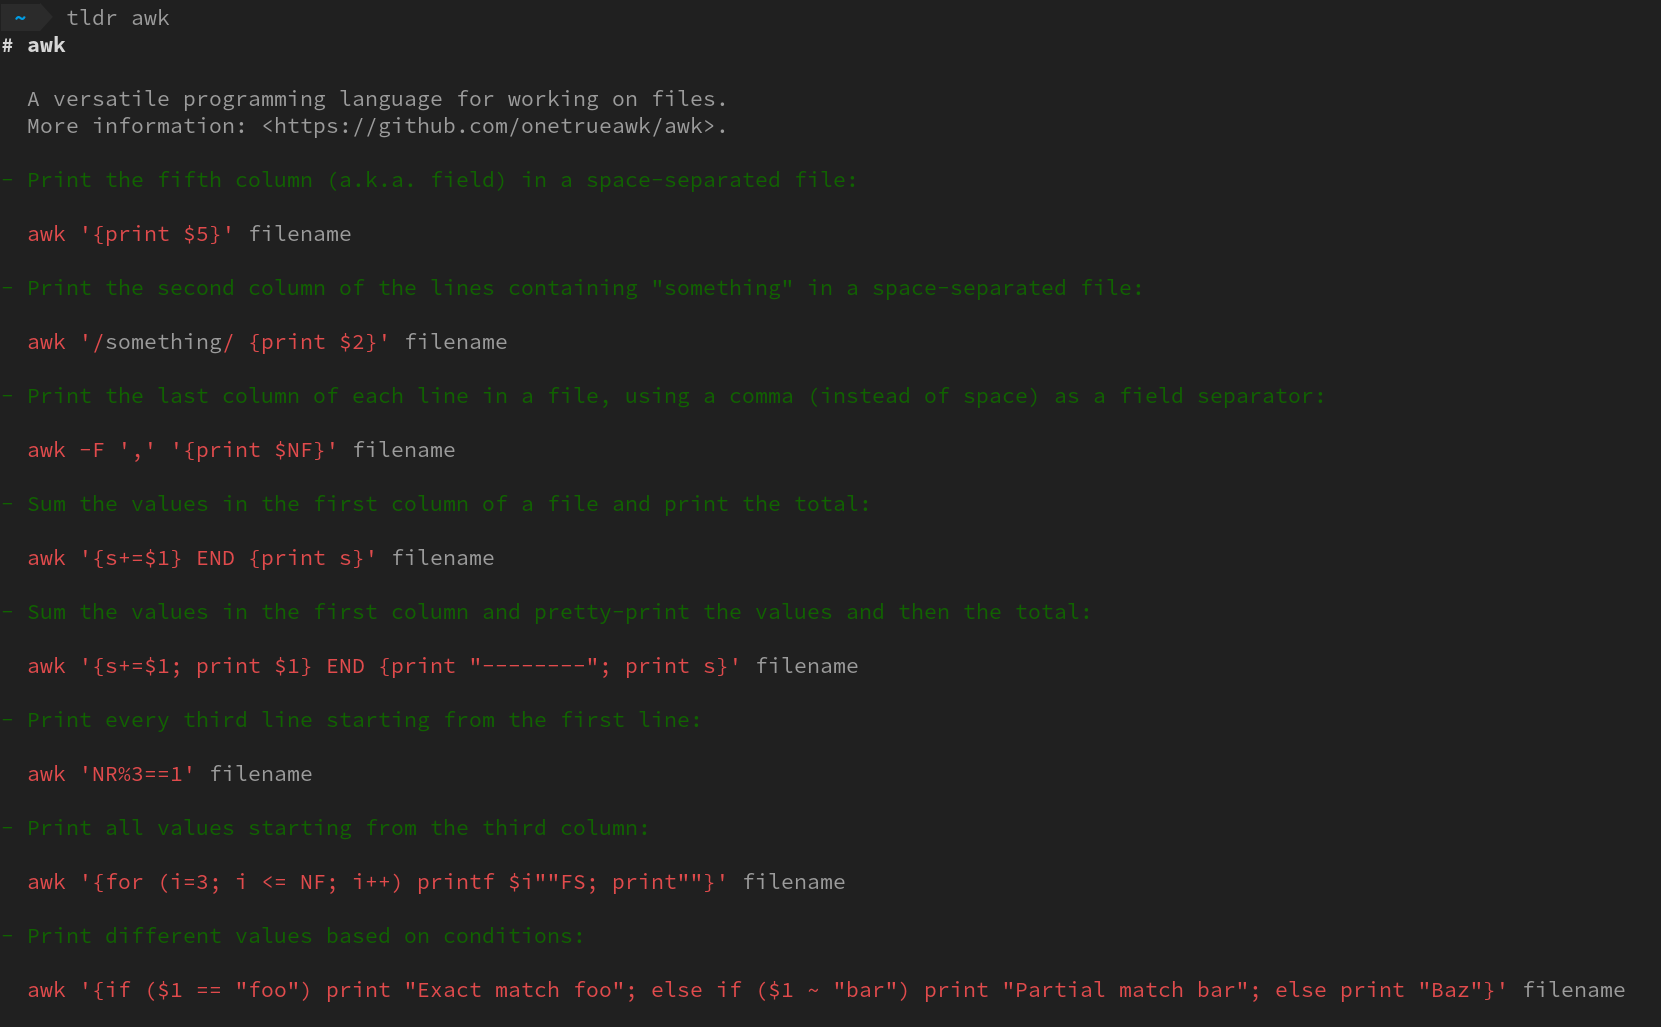
When we need help in Linux command line, man is usually the first friend we check for more information. But it became my second line support after I met other alternatives, e.g. tldr, cheat and eg.

tldr

tldr stands for too long didn’t read, it is a simplified and community-driven man pages. Maybe we forget the arguments to a command, or just not patient enough to read the long man document, here tldr comes in, it will provide concise information with examples. And I even contributed a couple of lines code myself to help a little bit with the project on Github. It is very easy to install: npm install -g tldr, and there are many clients available to pick to be able to access the tldr pages. E.g. install Python client with pip install tldr,

To display help information, run tldr -h or tldr tldr.

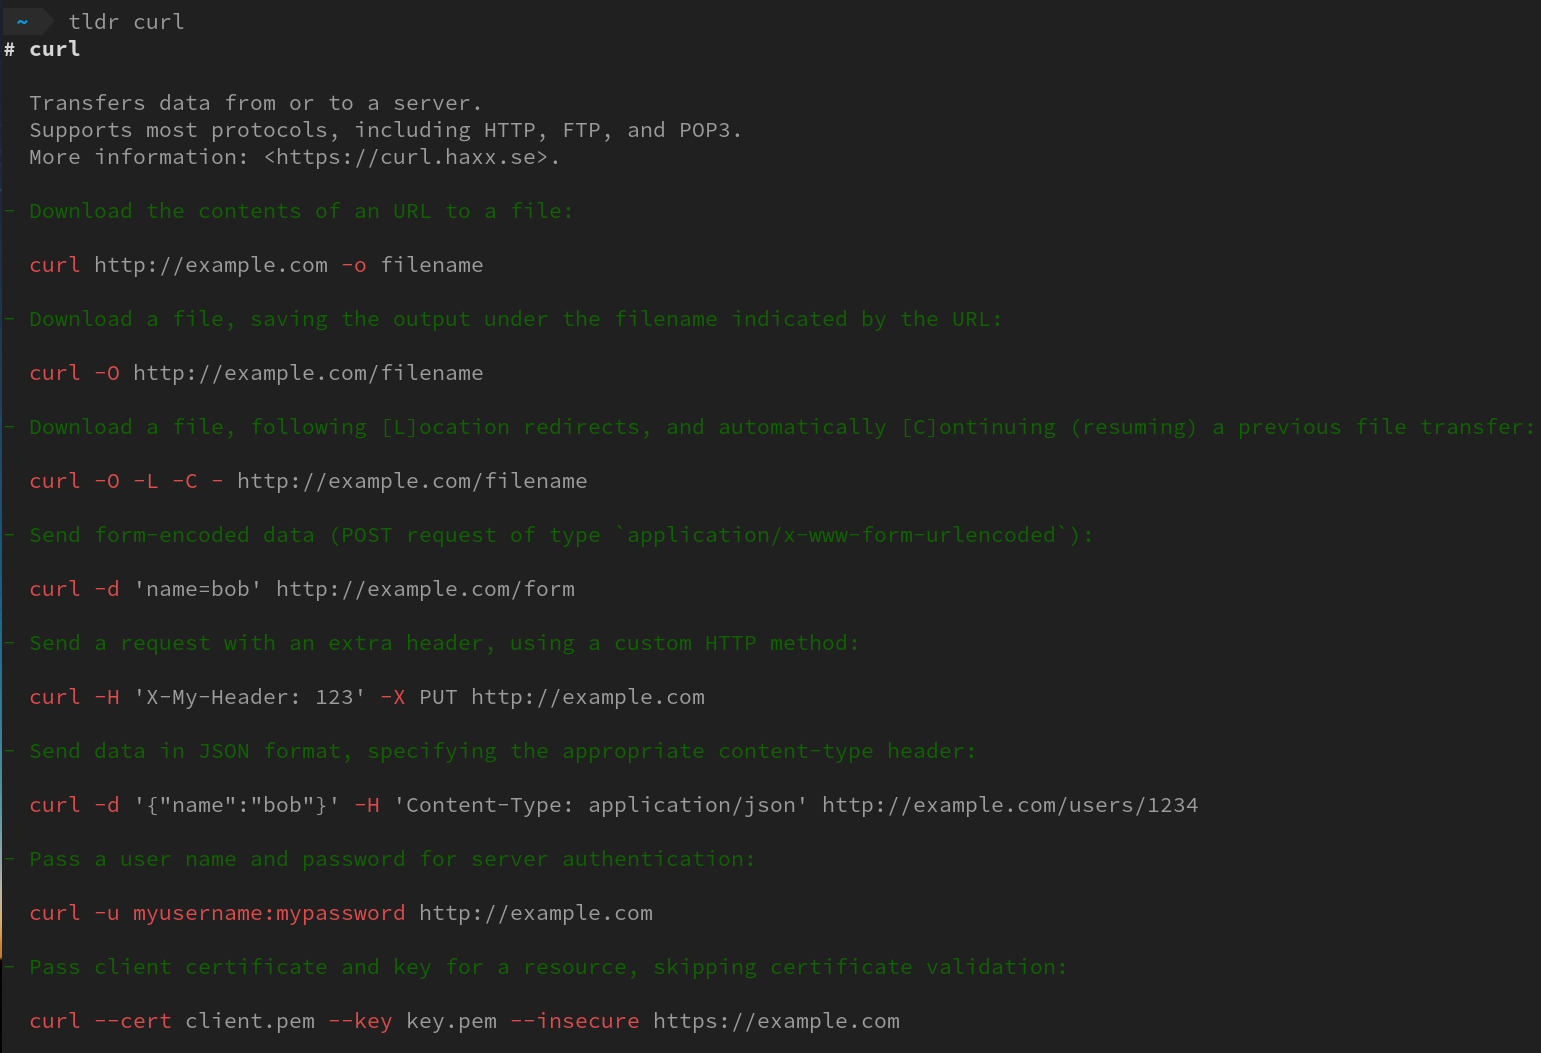
Take curl as an example

Read more »

Git workflow

This is my personal Git workflow, basically applicable with GitHub, GitLab and Bitbucket, but probably not Gerrit.

Let's assume there is a cool project on GitHub you will work with and collaborate with other contributors, which is called cool with the git URL like: git@github.com:CoolProject/cool.git.

Preparation

  1. Fork the repo to your own account using online GUI, usually just click the Fork button from your browser.
  2. Then you have two options to clone the repo:
$ git clone https://github.com/<username>/cool.git
or
$ git clone git@github.com:<username>/cool.git

Either way will work, but with the first way (via HTTPS), you will have to input your password every time you push, which is a bit tedious. Therefore, the second way (via SSH) is recommended, but we need to upload the public SSH key first.  

$ ssh-keygen -t rsa -b 4096 -C "your_email@example.com"
# This will generate a new ssh key for you

$ sudo apt-get install xclip
# Downloads and installs xclip. If you don't have `apt-get`, you might need to use another installer (like `yum`)

$ xclip -sel clip < ~/.ssh/id_rsa.pub
# Copies the contents of the id_rsa.pub file to your clipboard

Then add your new SSH key to the account on the git web frontend. A long guide (for GitHub) can be found here: https://help.github.com/articles/connecting-to-github-with-ssh/

  1. After clone the repo, let's add a remote for the upstream to the repo:
$ git remote add upstream git@github.com:CoolProject/cool.git

Now if you run

$ git remote -v

You should see something like

origin	git@github.com:<username>/cool.git (fetch)
origin	git@github.com:<username>/cool.git (push)
upstream	git@github.com:CoolProject/cool.git (fetch)
upstream	git@github.com:CoolProject/cool.git (push)

For each iteration

  1. Make sure to start from master branch, otherwise we need to switch to master
$ git checkout master
  1. Sync with upstream to have the latest version, and push to your own origin remote if there is any changes from upstream
$ git pull upstream master
$ git push origin master
  1. Check out a new branch to work on
$ git checkout -b some_branch_name
  1. Do some work, and commit it
$ git add .
$ git commit -m "some nice commit message"
  1. Make sure your branch is up-to-date with master
$ git pull upstream master --rebase

Or in more verbose way

$ git checkout master
$ git pull upstream master
$ git push origin master
$ git checkout some_branch_name
$ git rebase master

This is basically to sync with remote upstream, if there's new changes merged to upstream during the time we work on the new branch, we will fetch it and rebase on top of it.

  1. Push to the forked remote
$ git push origin some_branch_name
  1. Create a pull request in whatever web frontend for git is being used. If you get some code review feedback from others, do the update and push again. Either amend the existing commit and force-push, or create new commits on top of it, which can be possibly squashed in later steps.
$ git add .
$ git commit --amend
$ git push -f origin some_branch_name

Whenever the team is satisfied with the changes, the pull request will be merged.

  1. Clean up after the pull request get merged (optional)
$ git checkout master
$ git branch -D some_branch_name 
$ git push origin :some_branch_name
$ git remote prune origin (removes objects that are no longer being referenced)
view raw git-workflow.md hosted with ❤ by GitHub

Tcpdump is a very useful tool to capture network packets.
e.g. to capture TCP packet from interface lo0 via port 9999

1
sudo tcpdump -i lo0 port 9999 -XX -v

Here demostrate sending some UDP packets, using tcpdump to capture them and using Tcpreplay to playback.

Read more »

A recent project, we have to send TCP and UDP data from Host to Docker, back and forth. Docker is great and it is easy to expose port to provide service inside Docker instance. For example:

1
docker run -itd --name my_instance -p 1111:2222 -p 8888:9999/udp my_image

Here we map the TCP port 1111 from host to 2222 inside docker instance, and UDP port 8888 on host to 9999 in docker, and some help commands we use frequently such as

Read more »

Air Quality Index

I’v been experimenting to fetch data related to AQI in China recently.

A good resource is http://aqicn.org, which provides air pollution data in a good way by city, and I try to write a python script to crawl the data from it.

Read more »

Previously I am using spf13 for my vim configuration. However it is a bit sluggish for me since it includes too much settings and plugins which might not be needed for my daily usage, therefore I deicide to move to this vimrc.

New plugins installed manually such as vim-rails, vim-autoformat, YouCompleteMe, tagbar, vim-ctrlp-tjump etc.

Ctags is also needed for go to definition.

I remove/comment out the line to have deafault key mapping for multiple selection in plugins_config.vim

1
let g:multi_cursor_next_key="\<C-s>"

Here is how it looks for my_configs.vim

Read more »